Table of Contents (15 sections)
When it comes to capturing memories during your travels, photography plays a crucial role. Whether you aim to document your journey or create stunning works of art, understanding the fundamentals of travel photography can elevate your skills significantly. In this guide, we will explore a series of essential tips that every traveler should consider to enhance their photographic techniques while exploring new destinations.
1. Understand Your Equipment
Before you embark on your photographic journey, it's vital to familiarize yourself with your camera equipment. Whether you're using a DSLR, a mirrorless camera, or even a smartphone, knowing your gear will improve your ability to capture the perfect shot. Start with a solid understanding of the following key features:
- Aperture: Controls the amount of light that enters your camera, affecting the depth of field. A wider aperture (lower f-number) blurs the background, highlighting your subject. Conversely, a smaller aperture (higher f-number) keeps more of the scene in focus.
- Shutter Speed: Determines how fast the camera takes a picture. A slower shutter speed captures movement but may create blur, while a faster shutter speed freezes action.
- ISO Settings: Affects your camera's sensitivity to light. A higher ISO allows for shooting in low-light conditions but can introduce noise.
Pro Tips:
- Practice before your trip. Spend time photographing various subjects under different conditions to see how each setting affects your images.
- Carry a lightweight tripod to stabilize your shots, especially in low-light situations.
2. Composition Techniques
Composition is one of the most significant aspects of photography. Mastering various techniques can significantly impact the quality of your travel photos. Familiarize yourself with these essential composition rules:
- Rule of Thirds: Divide your frame into a 3x3 grid. Position key elements along the lines or at their intersections for a more balanced composition.
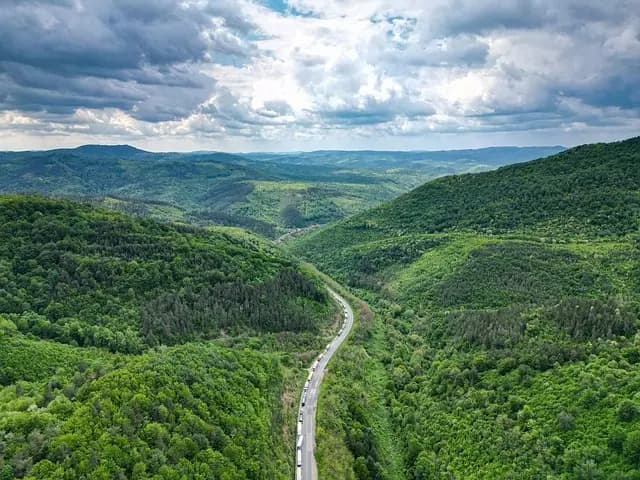
- Leading Lines: Utilize natural lines, such as roads, rivers, or architectural features, to guide the viewer’s eyes into the photo.
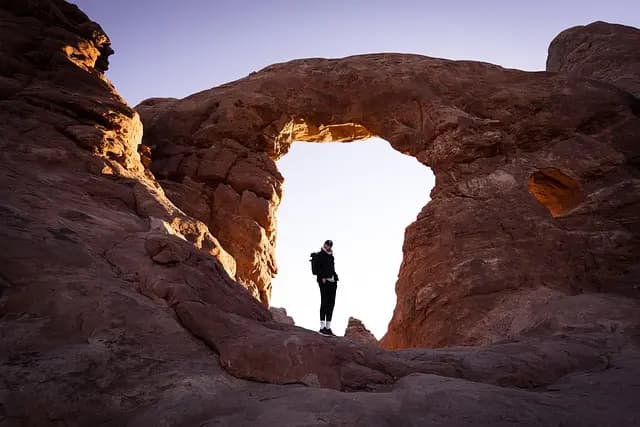
- Framing: Look for natural frames, such as doorways or windows, to emphasize your subject and create depth in your images.
Common Pitfalls to Avoid:
- Avoid placing your subject in the center of the frame, as it can make the photo feel static.
- Be cautious of distracting background elements that may take attention away from your main subject.
3. Lighting Matters
The quality of light can dramatically affect your photos. Understanding how to use natural light to your advantage is crucial.
- Golden Hour: This is the hour after sunrise and before sunset when the sunlight is soft and warm, ideal for landscape and portrait photography.
- Avoid Harsh Midday Sun: The harsh overhead light can create unflattering shadows. If you must shoot at this time, look for shaded areas or use filters to soften the light.
Key Considerations:
- Experiment with backlighting by positioning the sun behind your subject for dramatic silhouettes.
- Use reflectors (or simply a white surface) to bounce light onto your subject, filling in shadows during darker conditions.
4. Focusing on Details
While landscapes and wide shots are stunning, don’t forget to capture the finer details of your travels. Close-up shots can add texture and depth to your storytelling.
- Macro Photography: If your equipment allows, explore macro photography to highlight the intricate details of a flower, your food, or cultural artifacts.
- Candid Moments: Photograph locals or spontaneous moments to convey the essence of a destination. This adds an authentic touch to your travel experience.
Example Use:
- When visiting a market, capture the vibrant colors and textures of the fruits and vegetables.
- Focus on the hands of a craftsman at work, illustrating the skills and dedication involved.
5. Post-Processing
In today’s digital age, post-processing is a significant part of the photography workflow. Familiarize yourself with basic editing software to enhance your photos further.
- Adjustments: Learn how to tweak the exposure, contrast, saturation, and sharpness of your images to bring out their full potential.
- Filters and Presets: Utilize filters to create a specific mood or style, but use them sparingly to avoid over-editing.
Recommended Tools:
- Tools like Adobe Lightroom or Photoshop are excellent for enhancing images and achieving your desired aesthetic.
- Utilize mobile apps for on-the-go edits, such as Snapseed or VSCO.
📺 Resource Video
📺 For a deeper dive: Essential Tips for Travel Photography, an in-depth video guide on using light and equipment effectively. Search on YouTube:
travel photography techniques 2026.
Checklist before your journey
- [ ] Familiarize yourself with camera settings
- [ ] Practice composition techniques
- [ ] Research optimal lighting conditions for locations
- [ ] Prepare your editing software and mobile apps
- [ ] Create a shot list for must-capture moments
Glossary
| Term | Definition |
|---|---|
| Aperture | The opening of a lens that controls the amount of light that enters the camera. |
| Shutter Speed | The amount of time the camera’s shutter remains open to expose light to the sensor. |
| ISO | A measure of a camera's sensitivity to light. Higher ISO means more sensitivity. |
🧠 Quick Quiz
> What is the best time for taking photographs outdoors?
- A) Midday
- B) Golden Hour
- C) Night
Answer: B — Golden Hour offers the softest, most flattering light for photography.